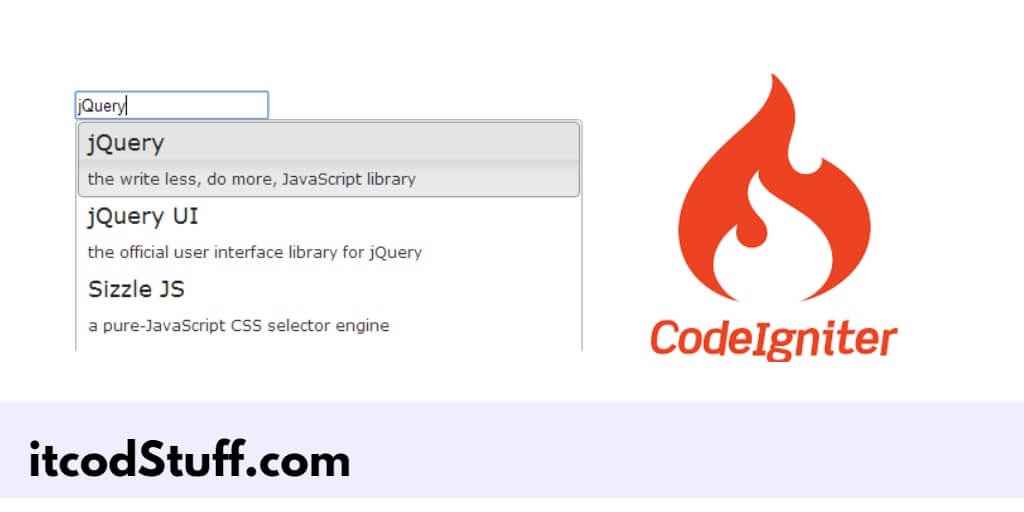
The jQuery UI Autocomplete plugin allows developers to build autocomplete searches into applications for a user-friendly feature that suggests possible results based on user input.
Let’s start to create autocomplete search input box using jQuery UI:
Step 1: Setting Up CodeIgniter 4
Run the following command to install and set up codeIgniter 4 application in your system:
composer create-project codeigniter4/appstarter ci4_autocomplete
cd ci4_autocomplete
Step 2: Set Up Database
Edit .env file from root directory of project, and set up database in it:
database.default.hostname = localhost
database.default.database = ci4_autocomplete
database.default.username = root
database.default.password =
database.default.DBDriver = MySQLi
Step 3: Create a Model
Run the following command to create the model for the Interact database table:
php spark make:model UserModelEdit app/models/UserModel.php file, and add the following code in it:
<?php

namespace App\Models;

use CodeIgniter\Model;

class UserModel extends Model
{
    protected $table = 'users';
    protected $allowedFields = ['name'];

    public function searchUsers($query)
    {
        return $this->like('name', $query)->findAll();
    }
}
Step 4: Create a Controller
Run the following command to create a controller to get the autocomplete suggestions from the database and pass it to the view file:
php spark make:controller UserControllerEdit app/Controllers/UserController.php file, and add the following code in it:
<?php

namespace App\Controllers;

use App\Models\UserModel;
use CodeIgniter\Controller;

class UserController extends Controller
{
    public function index()
    {
        return view('autocomplete');
    }

    public function search()
    {
        $model = new UserModel();
        $query = $this->request->getVar('query');

        if ($query) {
            $users = $model->searchUsers($query);
            return $this->response->setJSON($users);
        }

        return $this->response->setJSON([]);
    }
}
Step 5: Create Autocomplete View
Create a view file autocomplete.php in app/Views directory:
<!DOCTYPE html>
<html lang="en">
<head>
    <meta charset="UTF-8">
    <title>CodeIgniter 4 jQuery UI Autocomplete Search - Itcodstuff.com</title>
    <link rel="stylesheet" href="https://code.jquery.com/ui/1.12.1/themes/base/jquery-ui.css">
    <script src="https://code.jquery.com/jquery-3.6.0.min.js"></script>
    <script src="https://code.jquery.com/ui/1.12.1/jquery-ui.js"></script>
</head>
<body>
    <div class="container">
        <h1>CodeIgniter 4 jQuery UI Autocomplete</h1>
        <input type="text" id="user-search" placeholder="Search for a user...">
    </div>


</body>
</html>
Step 6: Use jQuery UI & Ajax
Use the jquery ui autocomplete function with ajax to fill in suggestions into an html input field:
    <script>
        $(function() {
            $("#user-search").autocomplete({
                source: function(request, response) {
                    $.ajax({
                        url: "<?= base_url('user/search'); ?>",
                        dataType: "json",
                        data: {
                            query: request.term
                        },
                        success: function(data) {
                            response($.map(data, function(item) {
                                return {
                                    label: item.name,
                                    value: item.name
                                };
                            }));
                        }
                    });
                },
                minLength: 2
            });
        });
    </script>
Step 7: Define Routes
Edit app/Config/Routes.php file, and add routes:
$routes->get('/', 'UserController::index');
$routes->get('user/search', 'UserController::search');
Step 8: Test the Application
Start the development server:
php spark serveOpen your browser and type url http://localhost:8080 in it to test this application.
