Google provides a JavaScript library for developers to integrate Google Maps into PHP CodeIgniter 4 applications to display locations, lay out routes, or show markers for specific points of interest.
Let’s start to integrating google maps and display locations, lay out routes, or show markers in applications:
Step 1: Set Up Google Map API Account
Create a Google Map API account to get the secret for the app or project. Just go to Google Cloud Console, and create a new project, then go to the APIs & Services dashboard to enable the Places API, and finally create an API key for the project.
Step 2: Create a New CodeIgniter 4 Project
Run the following composer command to create a new CodeIgniter 4 project in your system:
composer create-project codeigniter4/appstarter codeigniter4-google-maps
cd codeigniter4-google-maps
Step 3: Set up .env
Edit the .env file from root directory of project, and set your app.baseURL:
app.baseURL = 'http://localhost:8080'Step 4: Create a Controller
Go to app/Controllers directory, and create new controller file named MapController.php:
<!-- app/Controllers/MapController.php -->
<?php

namespace App\Controllers;

use CodeIgniter\Controller;

class MapController extends Controller
{
    public function index()
    {
        return view('map_view');
    }
}
Step 5: Create a View
Go to the app/Views directory, and create a new view named map_view.php:
<!-- app/Views/map_view.php -->
<!DOCTYPE html>
<html>
<head>
    <title>Google Maps Integration in Codeigniter 4 - itcodstuff.com</title>
    <script src="https://maps.googleapis.com/maps/api/js?key=YOUR_API_KEY"></script>
    <style>
        #map {
            height: 500px;
            width: 100%;
        }
    </style>
</head>
<body>
    <h1>My Google Map</h1>
    <div id="map"></div>

    <script>
        function initMap() {
            var location = { lat: -34.397, lng: 150.644 };
            var map = new google.maps.Map(document.getElementById('map'), {
                zoom: 8,
                center: location
            });
            var marker = new google.maps.Marker({
                position: location,
                map: map
            });
        }

        window.onload = initMap;
    </script>
</body>
</html>
Please replace YOUR_API_KEY with your google map api key in your html page:
<script src="https://maps.googleapis.com/maps/api/js?key=YOUR_API_KEY"></script>
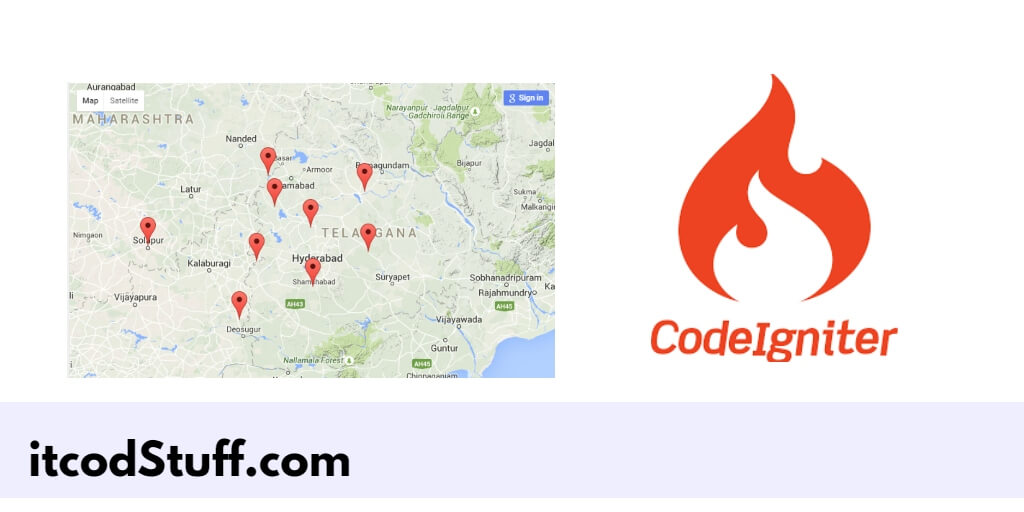
<style>Step 6: Show Multiple Markers
Edit the initMap function to add multiple latitude and longitude to display multiple markers on map:
function initMap() {
    var locations = [
        { lat: -34.397, lng: 150.644 },
        { lat: -35.397, lng: 151.644 }
    ];
    var map = new google.maps.Map(document.getElementById('map'), {
        zoom: 8,
        center: locations[0]
    });

    locations.forEach(function(location) {
        new google.maps.Marker({
            position: location,
            map: map
        });
    });
}
Step 7: Set Up Routes
Edit app/Config/Routes.php file, and set up routes in it:
<!-- app/Config/Routes.php -->
$routes->get('/map', 'MapController::index');
Step 8: Test Application
Run the following command on cmd to start application server:
php spark serveOpen your browser and type the url http://localhost:8080/map in it to test application.