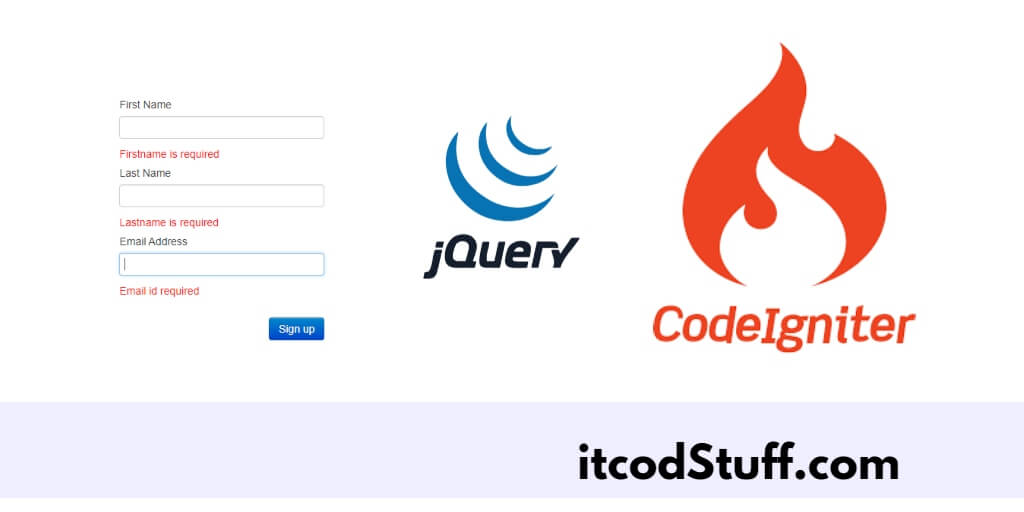
The jQuery library allows developers to add validation rules and messages to validate form before submitting them in CodeIgniter 4 application.
Let’s start by creating a simple form and validate the form containing fields like name, email, and password using jQuery validation:
Step 1 – Set up CodeIgniter 4
To download CodeIgniter 4 from the official website, Link:
Extract downloaded zip file in xampp/htdocs directory. and edit app/Config/App.php file, and set up base url in it:
public $baseURL = 'http://localhost/your-project/public';Step 2 – Create Form
Create a view file named form_view.php in app/Views:
<!DOCTYPE html>
<html lang="en">
<head>
    <meta charset="UTF-8">
    <meta name="viewport" content="width=device-width, initial-scale=1.0">
    <title>CodeIgniter 4 Form Validation using jQuery Tutorial - Itcodstuff.com</title>
   <link href="https://cdn.jsdelivr.net/npm/[email protected]/dist/css/bootstrap.min.css" rel="stylesheet" integrity="sha384-EVSTQN3/azprG1Anm3QDgpJLIm9Nao0Yz1ztcQTwFspd3yD65VohhpuuCOmLASjC" crossorigin="anonymous">

</head>
<body>
    <div class="container mt-5">
        <h2>Form Validation using jQuery in CodeIgniter 4</h2>
        <form id="myForm" method="post" action="<?= base_url('form/submit') ?>">
            <div class="form-group">
                <label for="name">Name:</label>
                <input type="text" class="form-control" id="name" name="name">
                <span class="text-danger" id="name-error"></span>
            </div>
            <div class="form-group">
                <label for="email">Email:</label>
                <input type="text" class="form-control" id="email" name="email">
                <span class="text-danger" id="email-error"></span>
            </div>
            <div class="form-group">
                <label for="password">Password:</label>
                <input type="password" class="form-control" id="password" name="password">
                <span class="text-danger" id="password-error"></span>
            </div>
            <button type="submit" class="btn btn-primary">Submit</button>
        </form>
    </div>


</body>
</html>
Step 3 – Add jQuery Validation in Form
In form_view.php, add jQuery client-side validation rules and messages to validate the form before submitting it using ajax:
    <script src="https://code.jquery.com/jquery-3.6.0.min.js"></script>
    <script src="https://cdnjs.cloudflare.com/ajax/libs/jquery-validate/1.19.2/jquery.validate.min.js"></script>
    <script>
        $(document).ready(function() {
            // Client-side validation using jQuery Validation Plugin
            $("#myForm").validate({
                rules: {
                    name: {
                        required: true,
                        minlength: 3
                    },
                    email: {
                        required: true,
                        email: true
                    },
                    password: {
                        required: true,
                        minlength: 6
                    }
                },
                messages: {
                    name: {
                        required: "Please enter your name",
                        minlength: "Your name must be at least 3 characters long"
                    },
                    email: {
                        required: "Please enter your email address",
                        email: "Please enter a valid email address"
                    },
                    password: {
                        required: "Please provide a password",
                        minlength: "Your password must be at least 6 characters long"
                    }
                },
                errorPlacement: function(error, element) {
                    var id = element.attr("id") + "-error";
                    $("#" + id).text(error.text());
                },
                submitHandler: function(form) {
                    $.ajax({
                        url: $(form).attr('action'),
                        method: 'post',
                        data: $(form).serialize(),
                        dataType: 'json',
                        success: function(response) {
                            if (response.status == 'error') {
                                $('#name-error').text(response.errors.name);
                                $('#email-error').text(response.errors.email);
                                $('#password-error').text(response.errors.password);
                            } else {
                                alert(response.message);
                            }
                        }
                    });
                }
            });
        });
    </script>
Step 4 – Create Controller Class
Go to app/controllers director and Create a controller named FormController.php:
<?php

namespace App\Controllers;

use CodeIgniter\Controller;

class FormController extends Controller
{
    public function index()
    {
        return view('form_view');
    }

    public function submit()
    {
        $validation = \Config\Services::validation();

        $validation->setRules([
            'name' => 'required|min_length[3]',
            'email' => 'required|valid_email',
            'password' => 'required|min_length[6]'
        ]);

        if ($validation->withRequest($this->request)->run() === FALSE) {
            return json_encode([
                'status' => 'error',
                'errors' => $validation->getErrors()
            ]);
        }

        return json_encode([
            'status' => 'success',
            'message' => 'Form submitted successfully!'
        ]);
    }
}
Step 5 – Define Routes
Edit app/Config/Routes.php and define the routes:
$routes->get('/', 'FormController::index');
$routes->post('form/submit', 'FormController::submit');
Step 6 – Test Application
Run the following command to start application server:
cd /your-project
php spark serve
Open your browser and type to http://localhost:8080 url in it to test this application.