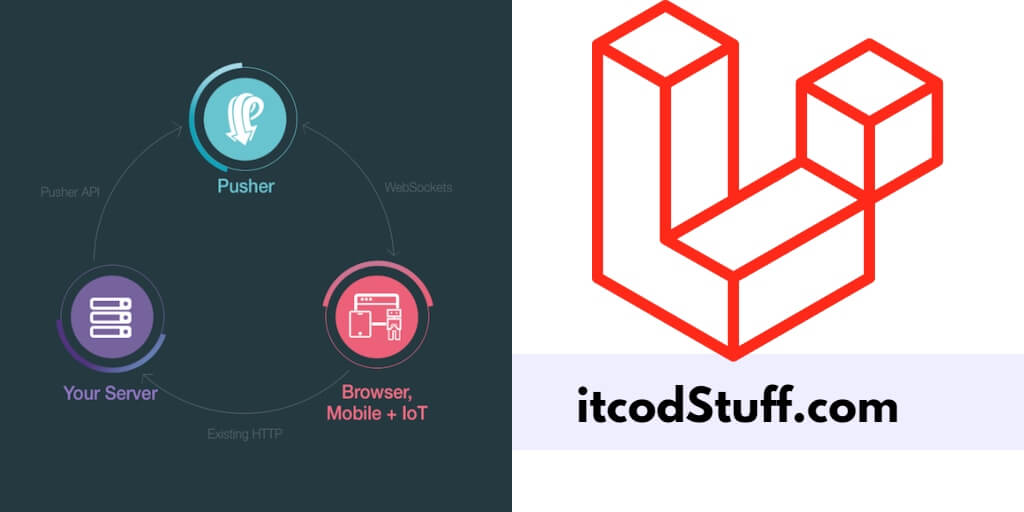
Pusher provides a package to developers, and it will make it easier to send real-time push notifications to Laravel 11 applications.
Let’s start creating a application to send real-time push notification using Pusher:
Step 1 – Create Account in Pusher
Go to pusher.com and create an account by signing in for free here.
Now, you will see two options for selection like Channel and Beam, choose Channel and create a new app and get the keys here.
Step 2 – Set up Pusher Keys in .env
Edit .env file, and pusher keys in it:
BROADCAST_CONNECTION=pusher

PUSHER_APP_ID="1822914"
PUSHER_APP_KEY="b49df9a9ea52a813046f"
PUSHER_APP_SECRET="5s5687a869..."
PUSHER_HOST=
PUSHER_PORT=443
PUSHER_SCHEME="https"
PUSHER_APP_CLUSTER="ap2"

VITE_APP_NAME="${APP_NAME}"
VITE_PUSHER_APP_KEY="${PUSHER_APP_KEY}"
VITE_PUSHER_HOST="${PUSHER_HOST}"
VITE_PUSHER_PORT="${PUSHER_PORT}"
VITE_PUSHER_SCHEME="${PUSHER_SCHEME}"
VITE_PUSHER_APP_CLUSTER="${PUSHER_APP_CLUSTER}"
Step 3 – Install Pusher PHP Server and Enable Broadcasting
Run the following command to enable broadcasting:
php artisan install:broadcastingRun the following command to install pusher php sdk and echo with npm command:
composer require pusher/pusher-php-server
npm install --save-dev laravel-echo pusher-js
Edit resources/js/echo.js file, and import pusher js file in it:
import Echo from 'laravel-echo';

import Pusher from 'pusher-js';
window.Pusher = Pusher;

window.Echo = new Echo({
    broadcaster: 'pusher',
    key: import.meta.env.VITE_PUSHER_APP_KEY,
    cluster: import.meta.env.VITE_PUSHER_APP_CLUSTER,
    forceTLS: false
});
Step 4 – Create Event
Run the following command to create event for sending push notification using pusher:
php artisan make:event TestNotificationEdit app/Events/TestNotification.php file, and implement method in it to send push notification:
<?php

namespace App\Events;

use Illuminate\Broadcasting\Channel;
use Illuminate\Broadcasting\InteractsWithSockets;
use Illuminate\Broadcasting\PresenceChannel;
use Illuminate\Broadcasting\PrivateChannel;
use Illuminate\Contracts\Broadcasting\ShouldBroadcast;
use Illuminate\Foundation\Events\Dispatchable;
use Illuminate\Queue\SerializesModels;
use Illuminate\Contracts\Broadcasting\ShouldBroadcastNow;

class TestNotification implements ShouldBroadcastNow
{
    use Dispatchable, InteractsWithSockets, SerializesModels;

     public $data;

    /**
     * Create a new event instance.
     */
    public function __construct($data)
    {
        $this->data = $data;
    }

    /**
     * Write code on Method
     *
     * @return response()
     */
    public function broadcastOn()
    {
        return new Channel('notification');
    }

    /**
     * Write code on Method
     *
     * @return response()
     */
    public function broadcastAs()
    {
        return 'test.notification';
    }

    /**
     * Get the data to broadcast.
     *
     * @return array
     */
    public function broadcastWith(): array
    {
        return [
            'message' => "This is a test notification"
        ];
    }
}
Step 5 – Send Notification from Controller
Edit your controller file, and add the following code into it to send real time notification:
//import this line in top of controller
use App\Events\TestNotification;

//for send notification
event(TestNotification('This is testing data'));
Step 6 – Add Listing Events in Views
Edit your blade view file, and the following js code to add event listening in it to handle for real time notification:
    <script type="module">
            window.Echo.channel('notification')
                .listen('.create', (data) => {
                    console.log('test notification: ', data);
                    var d1 = document.getElementById('notification');
                    d1.insertAdjacentHTML('beforeend', '<div class="alert alert-success alert-dismissible fade show"><span><i class="fa fa-circle-check"></i>  '+data.message+'</span></div>');
                });
    </script>
Step 7 – Test This Application
Run the following command to create a application build:
npm run buildand run the following command to start application server:
php artisan serveNow you can test your application with your added route.